 |
Start with a new image in RGB mode and fill it with black. Use the Marquee tool to create a circle. |
 |
Press delete the and change the marquee tool to rectangular. Place the cursor exactly next to the circle and draw a square. Press delete and do the same thing again to the upper side of the circle, |
 |
Now, it will look like this! Create a new layer and fill it with desired texture, color or whatever you want to use as a background on your webpage. |
 |
Now, select the first layer and use the magic wand tool to select the black shape. Go to layer 2. Create a new layer. |
 |
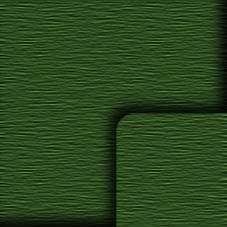
Apply the dropshadowfilter from EyeCandy on the same layer. Now, go to LAYER/FLATTEN IMAGE. |
 |
Cut out the corner and create a new image. Paste it into the new image and save it as ex. Corner.JPG |
 |
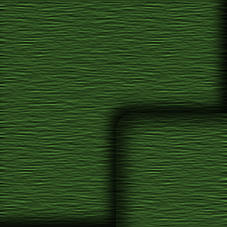
Now, cut out the left part. Create a new image and paste the left part into the new image. Save as ex. Left.JPG |
 |
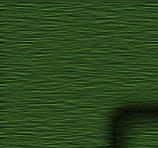
Do the same thing with the top part. Create a new image and paste it into the new image. Save as ex. Top.JPG We will also need a Main background, so cut out a part from the corner image, Paste it into a new image and save it as Main.JPG NOTE! It´s very important that you use a seamless background! |
| Now, we´re done with the backgrounds and have to do a frameset that put the frames together. It will look something like this: <FRAMESET COLS="210,*" FRAMEBORDER="0" FRAMESPACING="0" BORDER="0"> |
|