| 15. Turn all the effects on (the cutout layer and the text layer). Then go to File/Save a copy and save as remote2.jpg. We will use this later on. |
 |
| 16. Now, turn the effects off and add a new layer that you fill |
Zoom to 300% and place the cursor exactly next to the image that you just cutted out. Save the the new selection. Repeat this to all the images. |
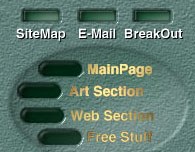
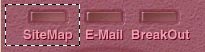
| 17. Now, open the remote2.jpg and select all (Ctrl+A) Press Ctrl+C (Copy) and paste (Ctrl+V) it in your PSD-remote. It will automaticly create a new layer . Load the first selection and press Ctrl+C. Go to File/New and press Ctrl+V (Paste) and here you have you first "on-image" Save a copy as Butt_on.jpg Repeat this procedur with all the images. | 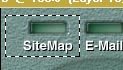 |
| 18. Turn the new layer off and flatten the image. Load the selections as you did in the previous step and do the same procedure with this "off-images" Save a copy as Butt_off.jpg. |
| 19. Now, we have created all the images "on" and "off" and the next step is to place them in your HTML-document and add the Java-script that handles the OnMouseOver-effect.
Good Luck |