| Here's are Airbrushing crash course. This little tip is nice to know for making more natural ifaces's like rocks or odd shapes, Its also more flexible and lets you make highlights where they really should go rather then just off setting a selection and filling it. This takes a little practice at first, But soon you will master it and then it takes only seconds to do.
For this tutorial, I made a mini size interface. |
 |
1.) Start by making a good size New document.
Fill the background with dark blue, Go to the channels tab and make a new channel, Draw your
self a interface and make some button areas like I did. Name this channel "Body". |
 |
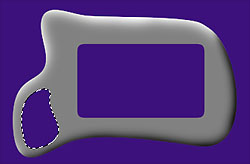
2.) Now switch back to the layers tab and make
a new layer, Name this layer "Body". Now load
your body selection; (Select > Load Selection and choose "Body" for the pop down menu).
Ok fill your selection with Medium gray. |
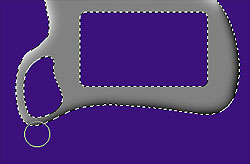 |
3.) Make a new layer and name it "Highlights".
While your frame is still selected, Choose a soft fat Airbrush (like 45 pixels) and paint some highlights as if the light was coming from the upper left, Do this by painting on the edge of the
selection/frame. Then paint black for the back side like a shadow. Notice I didn't do my button area yet, this will be a different bevel and brush.
Ok now Deselect (Ctrl + D) after your
done. |
 |
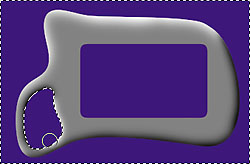
4.)
Alright, Now lets bevel the button
areas.
Make the "Body" layer active. Choose the magic wand from the tool bar and click in the empty button spot on your body. |
 |
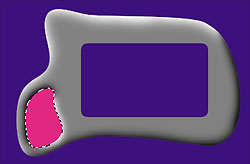
5.) Click back on the "Highlight" layer, Invert the selection and use a smaller soft brush and airbrush your shadows and lighting like we did with the body bevel by painting on the edge of our selection/button, This time paint black in the upper corner left and then white in the bottom corner right as
shown. |
 |
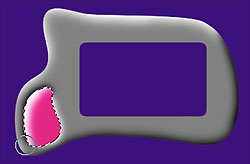
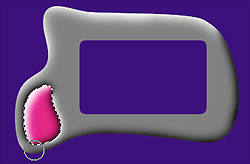
6.) Invert Selection, Make a new layer and call it "Butt Color" for short and drag it between the highlight layer and the body layer. Fill your button in with a medium color (I used
pink). |
 |
Here's the layer setup so far.. |
 |
7.) Activate your highlight layer, Grab the airbrush once more and paint a glare on the button in the upper left hand corner like
shown. |
 |
8.) Now paint your shadow on the back side of the button using black. When your finished deselect the selection (Ctrl+D).
Ok your
done! Now if you have more buttons, Just repeat step 4 on through. |
Wheew! You made it!
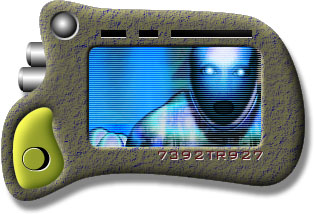
When I was done with this tutorial, I was kinda on a roll and souped up the interface a little.
It just shows some of the tons of possibilities you can do. |
|
|