ScrewsCopyright© 1997-1999 Mark Monciardini |
|
|
|
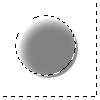
1.) Make a new document (100 x 100 ). Make a new layer, Draw a circle with the Elliptical Marquee tool , save your selection , Fill with medium gray. Feather by 4 pixels, Invert selection and press the "M" key. Now move the selection 2 pixels to the right and 2 pixels down, with the arrow keys on the keyboard. Now go to Edit = Fill =100% White, click OK. |
|
|
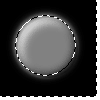
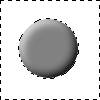
2.) Move selection up 4 pixels and to the left 4 pixels, Fill with black, Load Alpha channel 1, Inverse selection and press delete.
|
|
|
|
|
|
|
|
|
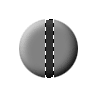
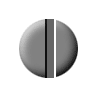
3.) Make a Vertical rectangular selection from the top of the circle to the bottom like shown. Fill with 60% Black (Edit = Fill = 60% Black), Move the selection 2 pixels to the right, Fill with 100% white. Move it back 2 pixels and fill with 60% Black and deselect. |
|
|
|
|
|
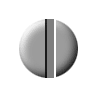
4.) Ok lets sharpen it up a little bit, Go to Image = Adjust = Brightness, I entered for Bright +23 and Contrast +12, Click OK. |
|
|
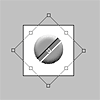
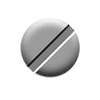
5.) Last rotate, Edit = Transform = Rotate, Hold down shift and rotate it 40 degrees. |
|
|
Hay its a screw! |
|
|
With
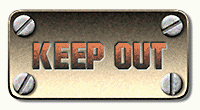
a little filter tweaking and design, You can make some pretty cool stuff with these screws. Here's a little steel panel I made for this tutorial just to give you a example. |
|
|
|
|
|
|
