Chunky
Rust
Copyright©
1997-1999 Mark
Monciardini
|
-
This tutorial is targeted towards
Intermediate Users.
-
After
receiving over a hundred "how to" e-mails on rust, I've
finally decided to let one out of the hat. Here's
a way to make that close up rustic look, it includes the thrashed
metal artifacts.
-
|
|
|
| 1.)
Your
first try lets go with 150 wide by 150 high. (Pixels)
Press "D" and then "X"
on the keyboard to reset to default colors.
Fill the background layer with brown. This same color that
I have is in the default Swatches.

|
|
|
|
| 2.)
Go
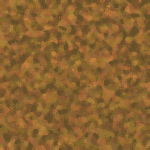
to Filter >Texture>Grain. Enter 30 for Intensity and then
68 for contrast. Grain Type choose "Contrasty".
|
|
|
|
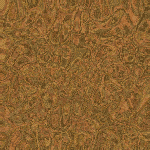
3.) Give it a little noise, about 10 or so, Check Gaussian and Mono.
Ok
Filter >Distort>Glass. Distortion 15, Smoothness 7,
For texture choose "Canvas" and then make it 67%.
|
|
|
|
| 4.)
Now
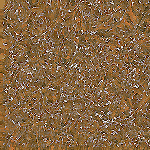
Plastic Wrap. Filter >Artistic>Plastic Wrap. In the options
enter 18, 14 and then 2.
Sharpen Edges, Filter>Sharpen>Sharpen
Edges. Do this 2 times all together.
|
|
|
|
| 5.)
Duplicate
that background layer, on the new layer go to Filter >Sketch>Reticulation.
Enter 50, 0 and then 50 in the last box.
Invert that layer. Image >Adjust>
Invert.
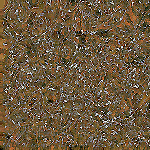
Last
select "Color Burn" from the layers pop down menu
on the layers tab.
Done.
|
|
|
|
Sometimes the effect is too coarse for the project.
In this case, Just resize the image and then sharpen it up.

|