Old Gold Texture

Copyright© 1997-1999 Mark Monciardini


This is more of a delicate texture rather then the hardcore type look. It can be used nicely for a web page background or even print type work. As with most textures, they need objects and design to really give out expression and feel. I've included some samples at the bottom of this tutorial.

 
1.) Make a new RGB image 150 pixels High by 150 wide.

Fill your background layer with white. Make a new layer.


2.) Press "D" and then "X" to reset to default colors. Ok now here’s an important part. Try and get your Foreground brown color as close to mine. As you can see, its already in the default swatches.

3.) Apply the clouds. Filter>Render>Clouds. Then choose "Hard light" from the layers pop down menu.


4.) Ok lets bring in the detail. Filter>Sharpen>Unsharp Mask, Amount 500, Radius 1.3, Threshold 0.

After that, I made a new layer and just loaded some of the brushes that came with Photoshop and made some blots with the Wet Edges option checked on the brush.

Ok this is pretty much the effect. If you want a more darker rough look then continue to the next step.


5.) On the texture layer go to Image>Adjust>Brightness/Contrast. Turn down the brightness a little and then turn up the contrast and play with it until you get the look you need.
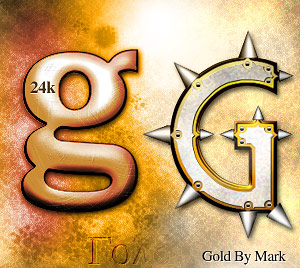


Here are some final images that I made with this texture. I got a little carried but I couldn't stop.


The texture applied to some letters


Here are some elements I made to go with the Old Gold ( Actually I don't think Gold ever gets old, that's just what I like to call it) texture.


<<<<retour tutoriels