Basic Interface
|
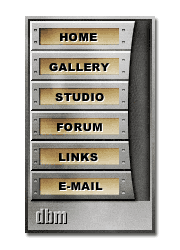
| The basis of this tutorial is not showing how to make the coolest interface, but to show how to use the copy/duplicate commands you need to whip things out quick rather then having 20 duplicate layers and always having your objects paste off alignment, I'll show how to fix that. We will be using Gradients, as it enables us to do this a lot faster. You can see, making a control pad does take a little time and there are a lot more steps to do, I've tried to make it as short as possible. |
|
|
|
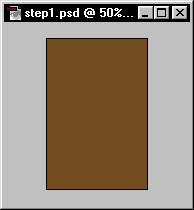
| Make a new RGB image, 200 wide by 300 height. Fill the background layer with a dark color. |
|
|
|
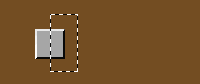
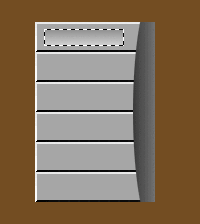
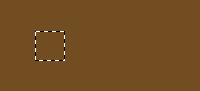
| Make a New Layer and name it "Buttons". Choose the Rectangular Marquee tool. Hold down the shift key and make a square marquee, this will be your button so don’t go too crazy on the height. |
|
|
|
|
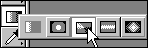
Now choose the "Angle gradient tool". You will need to click and hold the mouse on the gradient icon on the tool bar, then select it from the pop out.
|
|
|

|
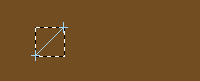
| Now Press "D" and then "X" on the keyboard to set the foreground and background color, white and black. Also make sure your gradient settings is on "Foreground to Background". Hold down the shift key and click on the Top right corner of the marquee, try to click right on the corner if you can. Now drag at an angle to the Bottom left corner like I have shown. Now release the mouse button first, then the shift key. |
|
|

|
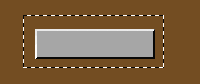
| Contract the selection: Selection> Modify>Contract. Enter 2 and click OK. Fill the center with a light or medium gray. Deselect Ctrl.-D (Mac: Command-D). |
|
|
|
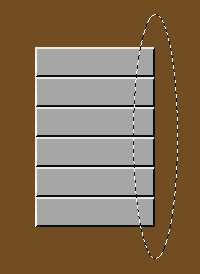
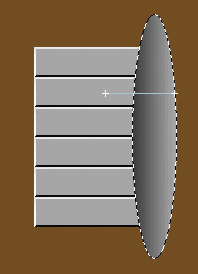
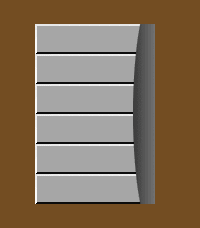
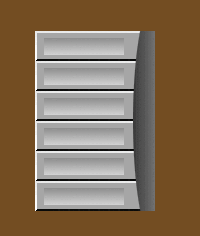
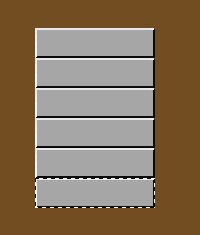
| Select the button with the marquee tool like shown. Now hold down Alt-Ctrl-Shift (Mac: Option- Command-Shift) and click on your button and drag down a copy of it right underneath and let go. Continue this until you have multiple buttons or enough for your needs. Try and make sure every copy you make is evenly spaced underneath so it will all match right, I just eye it really good. If you mess up, then hold down Alt-Ctrl-Z (Mac: Option-Command-Z) to undo your last step.
Tip: This might sound funny but, get in a good habit of knowing how to Undo. Undo history is like a Tool in itself and a great addition in Photoshop 5, so take advantage of it, you can really whip things out fast and correct mistakes like nothing ever happened. Remember: Alt-Ctrl-Z (to Undo). Shift-Ctrl-Z (to Redo).
|
|