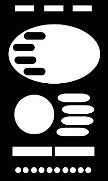
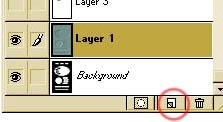
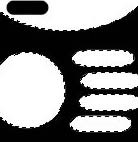
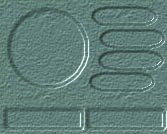
I have received so many questions about how to do a "remote control"..So I decided to put up a page that shows, step by step, how I did it! I´ve split it up in 4 pages so it won´t be too heavy to load....Hopefully, you can learn something new here! If you´re planning to create a similar control you´ll need Photoshop 3/4 Blackbox/Eyecandy and possibly Kai´s Powers tools It´s extremly important that you think carefully through your site-structure before you begin this kind of operation. |
![]() |
1. The first I did was to create all the shapes in
Corel
Draw. It´s a lot easier to create these kind of shapes in a vector-based drawing program like Corel Draw than it is in PhotoShop.If you don´t have CoreDraw, then Freehand, Quark Xpress or Adobe Illustrator will do just fine.
Then I exported the image to TIFF in 16 million colours with the resolution 90 dpi. |
![]() |
2. Open the TIFF image in PhotoShop and add a new layer (Layer 1) then open the background-image you have choosen, copy/paste it and repeat it over the whole layer area. Tips! use the ![]() ![]() |
![]() |
3. Select the background layer and use the Magic Wand tool ![]() |
![]() |
4. Select Layer 1 and apply the Outer Bevel filter from Eye-Candy/Blackbox on the buttons with the settings: width=3, smoothness=1, shadowdepth=50. For the oval shape that is a little smoother, I used: width=3, smoothness=5, shadowdepth=16. | ![]() |
5. Select the background layer and use the Magic Wand tool ![]() |
![]() |