|
|
| This is almost the same tips as the remote you've seen before on this site, but with the difference that this is made in Photoshop 5 and only using the layer effects and the original Photoshop filters. No EyeCandy or KPT 3 is used for this tips. |
|
|
| This will also show the javascript made by Doc Ozone which open a third image in a screen when you hold the mouse cursor over a button!
I hope you have the patience to go through all these steps! |
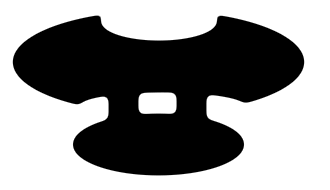 |
Start with the shape using the Marquee tool, Gaussian blur and adjust levels....
This step is shown in creating complex shapes |
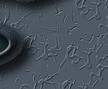
| Then open or create the background you will use on your website. Select all (Ctrl+A) on the background image and go to edit/define pattern. Go to your "Remote image" and add a new layer. Select all (Ctrl+A) and go to edit/fill/pattern |
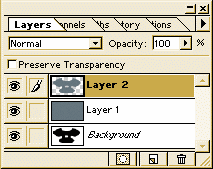 |
Now, click on the background layer and mark the shape using the Magic wand tool. Select Layer 1 and copy (Ctrl+C) and Paste (Ctrl+V). A new layer is created with the form filled with the background image.
Apply the Filter/Blur/Gaussian blur with radius 4.0. |
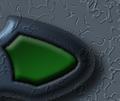
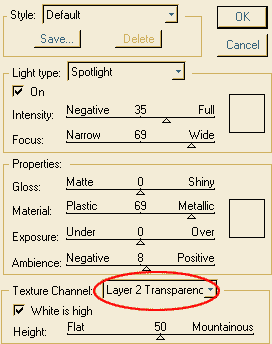
Use the Render/Lightning effect to make the Innerbevel effect. Use the settings like this and don't forget mark the Texture channel "Layer 2 Transparency" |
 |
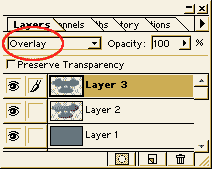 |
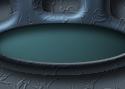
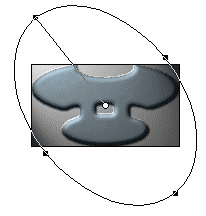
Now, Paste (Ctrl+V) the form filled with the background image that you copied earlier.
Set the Layer mode to Overlay. This is to get the same texture on the remote as the background. Mark the shape in the background layer, add a new layer above layer 1 and fill the selection with black. Deselect. Apply the Filter/Blur/Gaussian blur with radius 4.0. Move it slightly down to the right. |
 |
.... and this is how the remote will look like so far.
eh..... it doesn't??? go back and read again ;-)
|